What is an image compressor?
An image compressor makes a picture file smaller, measured in kilobytes (KB) or megabytes (MB), while keeping it looking as close to the original as possible. A photo straight from a phone camera is often 2 to 6 MB. Many job portals, exam application forms and government websites will only accept a photo under 100 KB, 50 KB or even 20 KB.
The RandomCount Image Compressor solves this in two ways. In Target size mode, you tell it the size you need, such as 100 KB, and it searches for the best quality that fits under that number. In Quality mode, you choose the quality level yourself and see how small the file becomes. Both modes work on one image or a whole batch, and everything happens inside your browser.
Your photos are not uploaded anywhere. The compressor uses your browser's built-in canvas to read and re-save each image on your own device, so it is safe for ID photos, signatures and private pictures.
How to compress an image to 100KB, 50KB or 20KB
- Add your images. Drag them onto the box or click it to choose files. You can add several at once.
- Choose Target size mode and tap a quick button: 20 KB, 50 KB, 100 KB, 200 KB, 500 KB or 1 MB. For any other number, type it into Custom target size.
- Pick the output format. JPG is accepted by almost every form. WebP is usually smaller and is great for websites.
- Optionally set a maximum width or height. Many forms want a small photo, for example 600 pixels wide. Setting this first often gives better quality at the same file size.
- Check the result. Each image shows its old size, new size, the percentage saved and its new dimensions.
- Download each file on its own, or use Download all to save every compressed image one after another.
Changing a setting re-compresses everything in the list automatically, so you can try 50 KB, then 100 KB, and compare without adding the files again.
How the target size compression works
JPG and WebP are “lossy” formats. When they are saved, a quality number from 0 to 100 decides how much fine detail is thrown away. Lower quality means a smaller file, but too low and you start to see blocky patches and smudged edges. The trouble is that the same quality gives very different sizes for different photos.
Sometimes even a very low quality is still too big. A 12-megapixel photo simply has too many pixels to fit into 20 KB. In that case, the tool shrinks the width and height step by step, always keeping the original shape, and searches again until the file fits. The new dimensions are shown next to each result so you always know what you are getting.
Why the result is slightly under your target
Exact sizes are not possible with lossy formats, because the file size jumps in small steps as quality changes. The compressor always stays under your limit, never over it, so a 100 KB target might produce a file of 92 KB or 97 KB. There is also a second reason. Some websites count 1 KB as 1,000 bytes and others count it as 1,024 bytes. To pass both kinds of check, the tool treats 100 KB as 100,000 bytes. Your computer may then show that file as about 97.6 KB, which is still well inside the limit.
Typical results: what size can you expect?
Every photo is different, so treat these figures as a rough guide for a typical phone photo, not a promise.
| Target size | Good for | What usually happens |
|---|---|---|
| 1 MB / 500 KB | Email, sharing, print previews | Full size kept, quality stays high |
| 200 KB | Blog and website images | Looks good, especially at 1,200–1,600 px wide |
| 100 KB | Job portals, profile photos, many forms | Good quality at around 800–1,200 px wide |
| 50 KB | Application and exam forms | Fine for a face photo; large photos get resized |
| 20 KB | Signatures, small ID photos | Image is made smaller; best with a set max width |
Photo compressor for form upload
Exam boards, universities, passport and visa portals, job sites and bank KYC pages often set strict limits for photos and signatures. They frequently ask for a size range, such as “between 20 KB and 50 KB”, and sometimes exact pixel dimensions too. The rules differ from form to form, so always read the instructions on the page you are filling in.
Tips for upload forms
- Crop first. A photo that shows only your face and shoulders compresses far better than one with a whole room in the background. Use our Crop Image tool to cut it down before compressing.
- Match the pixel size if one is given. If the form asks for 200 × 230 pixels, set the exact size with the Image Resizer, then compress here.
- Use JPG. Most forms list JPG or JPEG as the accepted format. Only choose WebP if the form clearly accepts it.
- Watch the minimum size. If the form says 20–50 KB, aim for about 45 KB.
- Scan signatures on white paper with good light. Clean backgrounds take up very few kilobytes.
JPG or WebP: which output format should you choose?
Compress JPEG
JPG (also written JPEG) works in every browser, phone, email app and upload form. It is the safe choice for documents and forms. JPG cannot store transparency, so any transparent parts of a PNG are filled with white. The tool warns you when this happens.
Compress to WebP
WebP usually produces a smaller file than JPG at similar visual quality, and it keeps transparency. It is ideal for websites and blogs. Some older software and some forms do not accept it. Safari and a few other browsers cannot create WebP files, so the tool switches to JPG there and tells you.
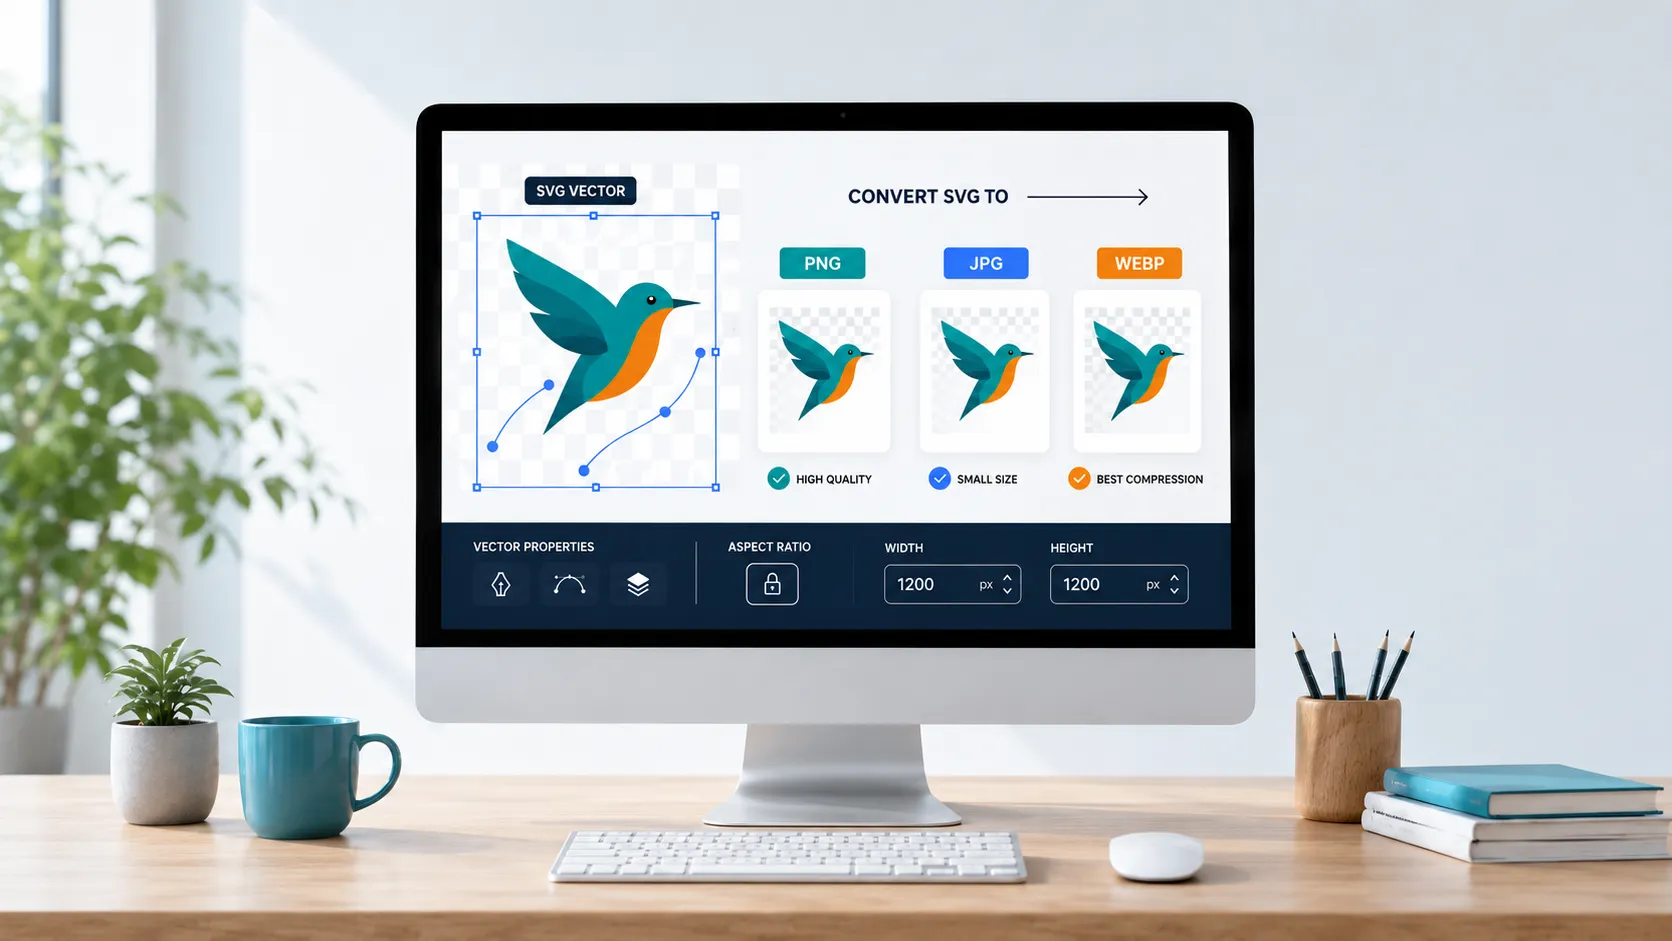
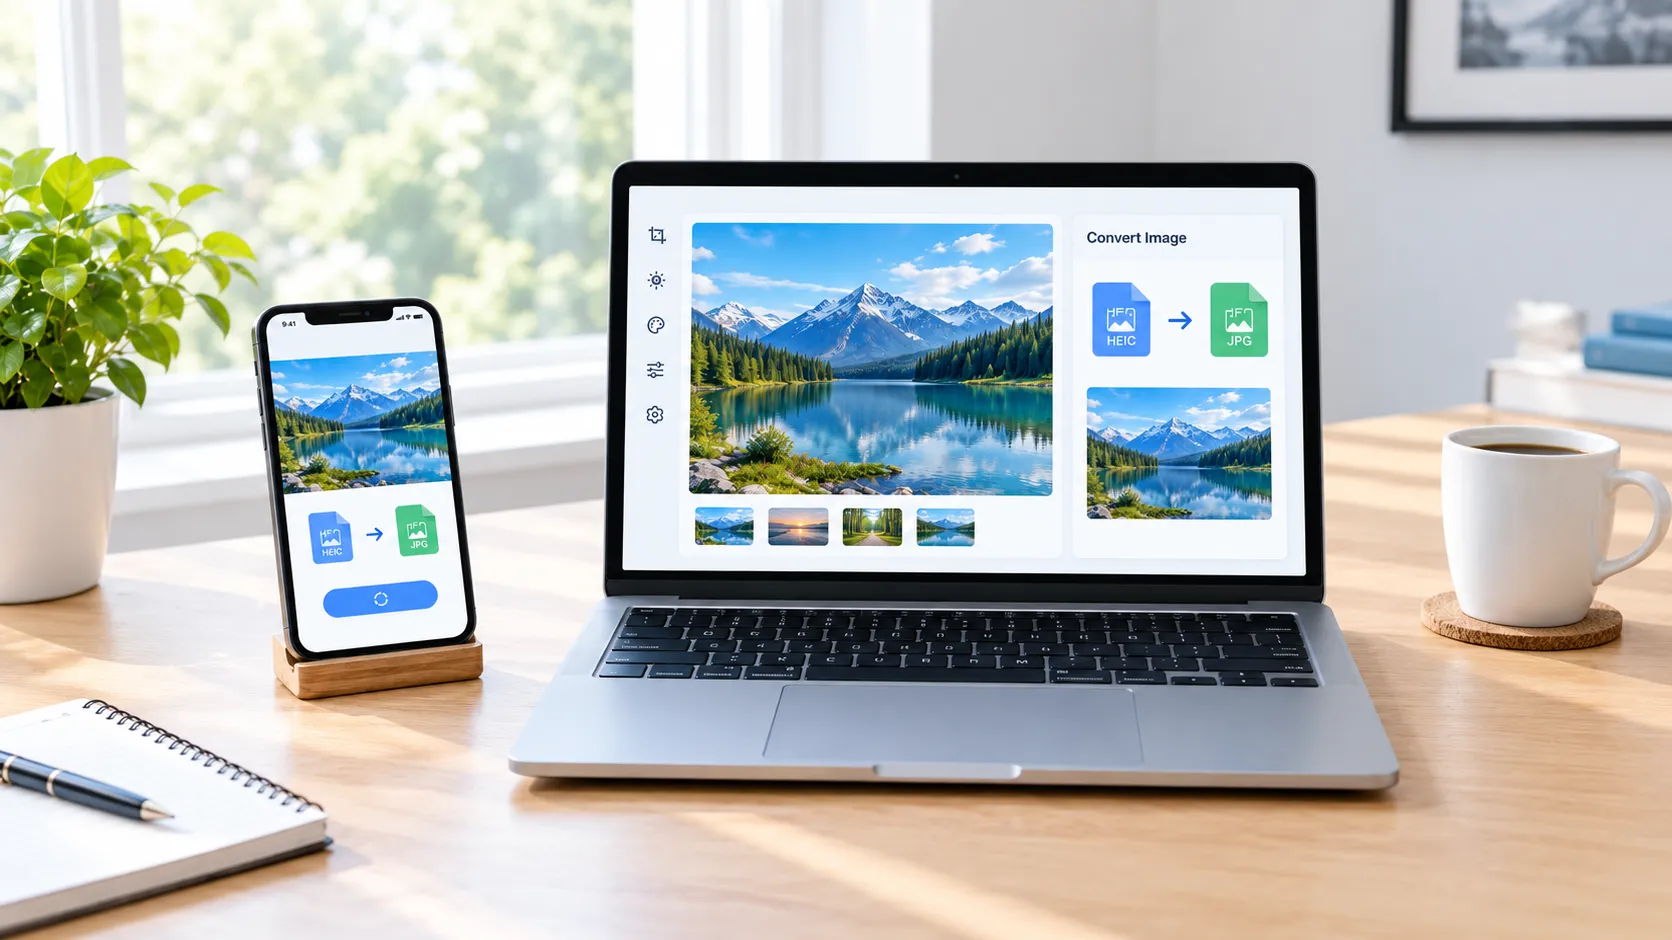
Need to change format without compressing? Try JPG to WebP, PNG to JPG or WebP to JPG. iPhone photos in HEIC format may not open in every browser, so convert them first with HEIC to JPG.
Compressing images for a faster website
Large images are a common reason web pages load slowly, because visitors must download every byte before the picture appears. The best approach is to resize the image to the largest size it will actually be shown at, then compress it.
Set a Max width such as 1,600 px for full-width banners or 800 px for images inside an article, choose WebP, and use the quality slider at around 75–80%. For a full walk-through, read our guide on how to resize images for faster website loading.
Quality mode: when to use the slider
Target size mode is best when a form gives you a hard limit. Quality mode is better when you care more about how the image looks and just want it smaller. As a starting point:
- 85–95% – very close to the original, good for portfolio and product photos.
- 70–85% – the best balance for most photos on websites and social media.
- 50–70% – noticeably smaller; small details may soften.
- Below 50% – use only when size matters much more than looks.
If the compressed file turns out larger than your original, for example because the original was already well compressed, the tool keeps your original file and tells you so.
Good to know
- Phone photos keep the right orientation. The tool reads the rotation stored by your camera, so portrait photos do not come out sideways in modern browsers.
- Metadata is removed. Re-saving through the canvas drops hidden EXIF data such as camera model and GPS location.
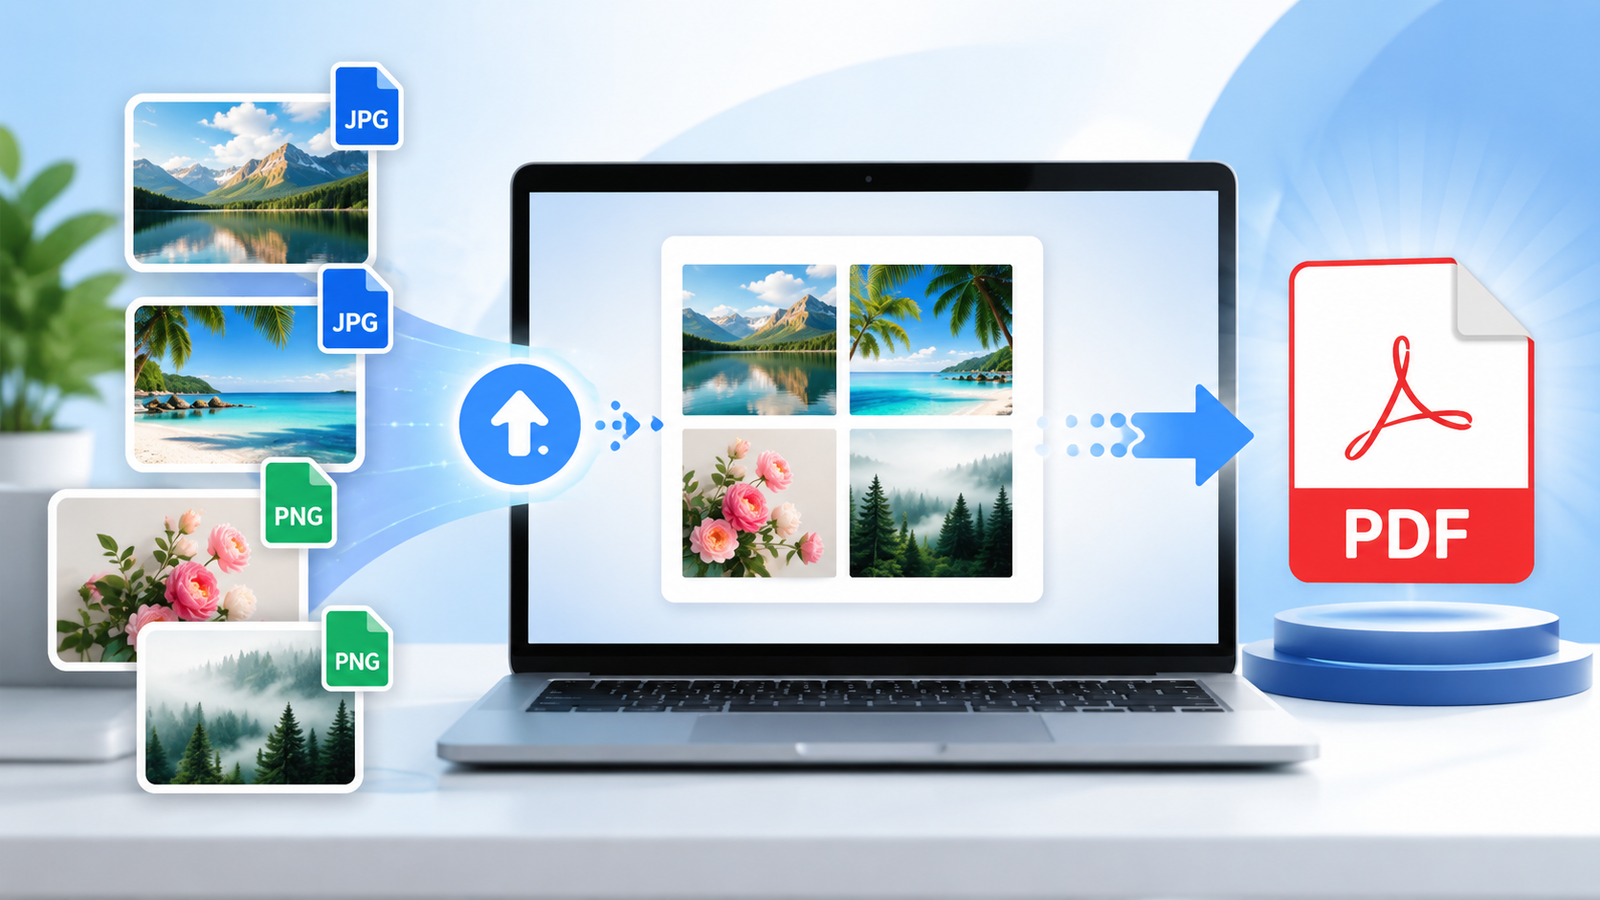
Other free tools that pair well with the compressor include the Background Remover and Image to PDF, which is handy when a form asks for a single PDF of several scanned pages.