
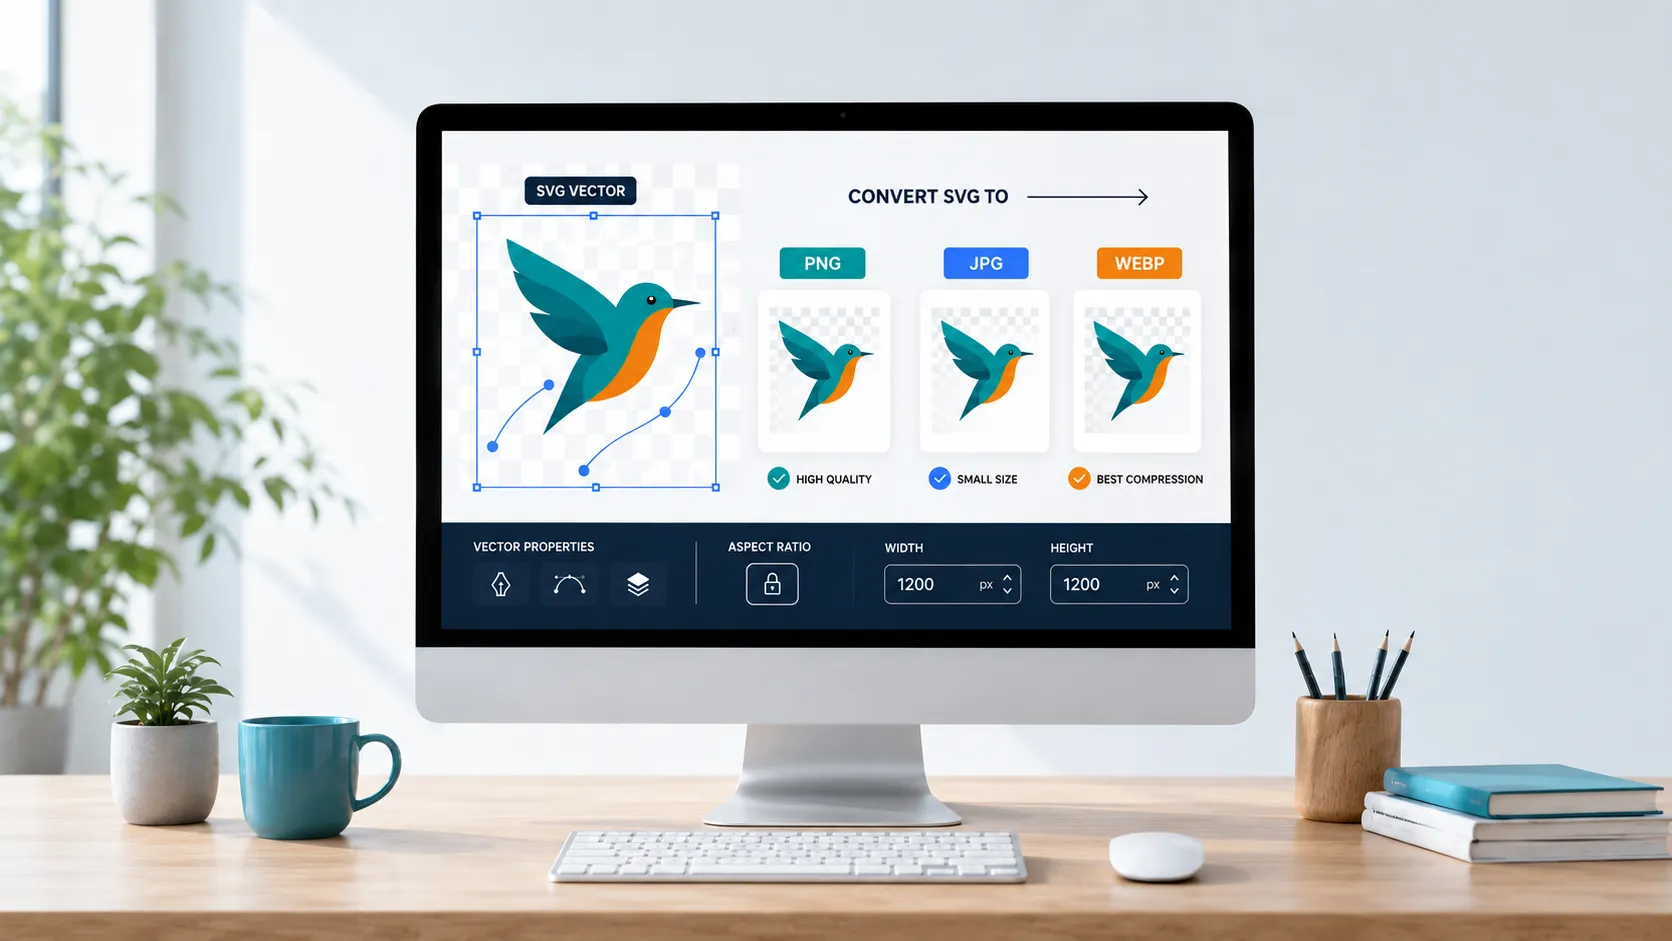
SVG files are wonderfully flexible until you try to upload one somewhere that does not accept them. A logo may look perfect in a browser but fail on a marketplace, presentation app, email platform, or social media website. Converting the file solves the compatibility problem, but choosing the wrong dimensions or format can leave the finished image blurry, stretched, or surrounded by an unwanted background.
The good news is that an SVG can produce an exceptionally clean raster image. You simply need to choose the output size, format, background, and aspect ratio before converting it. This guide explains the complete process in practical language, including when to use PNG, JPG, or WEBP and how to avoid the mistakes that quietly reduce image quality.
According to the MDN SVG documentation, SVG is an XML-based vector format used for creating scalable graphics, icons, illustrations, shapes, and other web visuals.
What Is an SVG File?
SVG stands for Scalable Vector Graphics. Unlike a photograph, which is built from a fixed grid of colored pixels, an SVG describes artwork through paths, shapes, coordinates, fills, and strokes. The browser calculates these instructions whenever the graphic appears on screen. That is why an SVG logo can be enlarged from a small menu icon to a large display without developing blocky edges.
This structure makes SVG especially useful for logos, interface icons, diagrams, simple illustrations, charts, badges, and other graphics made from clear shapes. According to the MDN SVG documentation, SVG is an XML-based format that can support shapes, text, gradients, transformations, filters, and other visual features.
SVG is not automatically the best choice for every image. A detailed photograph can require an enormous number of vector shapes, making the file unnecessarily complex. Formats such as JPG and WEBP are generally more practical for regular photos.
Why Convert SVG to Another Image Format?
If SVG stays sharp at any size, conversion may seem unnecessary. In everyday work, however, file compatibility often matters as much as scalability. Some content-management systems, social networks, document editors, email services, and online marketplaces either reject SVG uploads or handle them inconsistently.
A converted image is also easier to share with someone who does not use design software. PNG, JPG, and WEBP files can be opened on almost every modern phone or computer. Conversion may therefore be useful when you need to:
- upload a logo to a platform that does not support SVG;
- place an icon or illustration inside a presentation;
- add a predictable image to an email or document;
- create a fixed-size thumbnail or website banner;
- share artwork with clients, classmates, or coworkers; or
- turn a transparent vector graphic into a standard image.
The important point is to convert for a specific destination. A 300-pixel website icon and a 2400-pixel printable graphic have very different requirements, even when both come from the same SVG.
Open the free SVG Converter, upload your SVG file, choose PNG, JPG, or WEBP, and set the required output dimensions.
Choose the Right Output Format First
PNG: Best for Transparency and Sharp Graphics
PNG is usually the safest choice for logos, icons, flat illustrations, screenshots, and graphics that need a transparent background. It uses lossless compression, so clean edges and solid colors are preserved well. The trade-off is that a large PNG can have a heavier file size than JPG or WEBP.
Choose PNG when transparency is essential or when the graphic contains fine lines, small symbols, or crisp text. If you are unsure which format a logo needs, PNG is normally a sensible starting point.
JPG: Best for a Solid Background
JPG does not support transparency. Any transparent section must be filled with a color, usually white or another selected background. JPG works best for photographs and graphics containing many blended colors. It can create small files, but strong compression may introduce visible marks around lettering and sharp edges.
Use JPG when the destination requires it, when the background must be solid, or when a complex image needs a smaller file. Avoid it for a transparent logo unless you deliberately want that logo placed on a fixed background.
WEBP: A Useful Modern Alternative
WEBP can offer compact files while supporting transparency. It is useful for modern websites where loading speed matters. Browser support is now broad, although an older application or upload portal may still prefer PNG or JPG.
For a website asset, compare a WEBP export with a PNG version at the same dimensions. If both look equally clean, the smaller file is usually the practical choice. The web.dev image-format guide also recommends matching the format to the visual characteristics of the image rather than using one format for everything.
How to Convert SVG Without Losing Quality
Step 1: Start With the Original SVG
Use the original vector file whenever possible. An SVG that was recreated from a small screenshot may already contain inaccurate shapes or embedded low-resolution images. Conversion cannot restore detail that is missing from the source.
Step 2: Decide Where the Image Will Be Used
Write down the required width, height, file format, and file-size limit before exporting. For example, a blog header may need a wide landscape layout, while a profile graphic may require a square canvas. Knowing the final destination prevents repeated resizing and unnecessary quality loss.
Step 3: Upload the File
Open the free RandomCount SVG Converter and upload or drag the SVG file into the converter. The tool lets you select output dimensions and export the artwork as PNG, JPG, or WEBP.
Step 4: Keep the Aspect Ratio Locked
Aspect ratio is the relationship between width and height. If you change one value while the ratio is locked, the other value adjusts automatically. This prevents circles from becoming ovals and stops logos from looking unusually wide or narrow.
Unlock the ratio only when the design has been intentionally prepared for a different shape. Stretching artwork to force it into a banner or square rarely produces a professional result. It is usually better to add empty space or redesign the composition.
Step 5: Set Sufficient Output Dimensions
The SVG source is scalable, but the converted PNG, JPG, or WEBP is not. Once exported, it contains a fixed number of pixels. If the image will appear at 1200 pixels wide, exporting it at only 400 pixels and enlarging it later will make it soft.
Export at the actual display size or slightly larger when the image may appear on a high-density screen. Do not create an extremely large image without a reason, because unnecessary dimensions increase download size and storage use. For a different final size, use the RandomCount Image Resizer to prepare a properly sized copy while keeping the original export safe.
Step 6: Select the Background Carefully
Choose PNG or WEBP if transparent areas must remain transparent. When exporting to JPG, select a background that suits the final page or design. A white background may look fine on a white website but appear as a visible rectangle on a colored page.
Check pale and white artwork before export. A white icon on a transparent canvas can seem invisible in a preview even though the file is working correctly. Temporarily previewing it against a dark background makes the edges easier to inspect.
Step 7: Convert and Inspect the Result
Download the converted file and view it at 100% size. Look closely at curves, diagonal lines, small lettering, gradients, shadows, and transparent edges. Also check the image on the background where it will actually appear. A file that looks clean on white may reveal a light fringe on dark blue or black.
Common SVG Conversion Mistakes
Exporting at a Tiny Size
A small export may look acceptable as a thumbnail but become blurry when enlarged. Always set dimensions for the largest expected use rather than relying on another application to upscale the file.
Using JPG for Transparent Artwork
JPG replaces transparency with a solid background. If a logo must sit on several background colors, use PNG or WEBP instead.
Changing Width and Height Independently
Typing unrelated dimensions with the aspect ratio unlocked stretches the design. Keep the ratio locked unless cropping or added canvas space is part of the plan.
Confusing Dimensions With File Size
Pixel dimensions describe how wide and tall an image is, while KB or MB describes how much storage it uses. Compression can reduce file size without changing dimensions, and resizing can change dimensions without guaranteeing a particular file size.
Converting the Same File Repeatedly
Keep the original SVG as your master file and create each required raster version directly from it. Repeatedly editing and re-saving a compressed JPG can gradually create more visible artifacts.
How to Prepare Converted Images for a Website
A sharp image is not automatically a well-optimized image. Uploading a 4000-pixel graphic into a 500-pixel content area makes visitors download far more data than necessary. Export close to the displayed dimensions and use suitable compression.
For responsive pages, website owners can prepare multiple sizes so the browser can select an appropriate file for the visitor’s screen. Google’s responsive images guide explains how the HTML srcset and sizes attributes help browsers make that choice.
Add descriptive alternative text when the graphic communicates useful information. Decorative images can use an empty alt attribute according to the website’s accessibility approach. Also include width and height attributes in the image markup so the browser can reserve the correct amount of space while the file loads.
If you need a smaller modern file after exporting, the PNG to WEBP Converter can create a WEBP copy. Keep the PNG master when compatibility or transparent editing remains important.
A Simple Pre-Download Checklist
- Use the clean original SVG rather than a screenshot.
- Confirm the required width and height.
- Keep the original aspect ratio locked.
- Select PNG or WEBP when transparency is needed.
- Choose a suitable solid background for JPG.
- Export at the largest realistic display size.
- Inspect edges, gradients, lettering, and shadows.
- Test the image on its intended background.
- Optimize the file before adding it to a website.
- Store the original SVG for future exports.
Frequently Asked Questions
Does converting an SVG reduce its quality?
Conversion does not have to reduce visible quality. The SVG is rendered at the pixel dimensions you choose. Problems usually appear when the exported image is too small and later enlarged, so select dimensions that match the final use.
Should I convert an SVG to PNG or JPG?
Choose PNG for logos, icons, sharp graphics, and transparent backgrounds. Choose JPG when you need a solid background, broad compatibility, or a smaller file for artwork containing many blended colors.
Can a converted SVG keep a transparent background?
Yes. Export it as PNG or transparency-compatible WEBP. JPG cannot store transparent pixels, so transparent areas must be replaced with a selected solid color.
Why does my converted SVG look blurry?
The most common reason is exporting at dimensions smaller than the final display size. Blurriness can also result from enlarging the raster image, heavy JPG compression, embedded low-resolution artwork, or an unsuitable browser preview scale.
What dimensions should I use when converting an SVG?
Use the actual dimensions required by the destination or export slightly larger for a high-density display. Keep the aspect ratio locked and avoid generating an oversized file that will only be shown as a small thumbnail.
Can I use SVG directly on a website?
Yes. Modern browsers support SVG, and it is often excellent for logos, icons, diagrams, and simple illustrations. Conversion is useful when a particular platform rejects SVG or when you need a fixed raster version.
Final Thoughts
Converting SVG without losing quality is mostly a matter of making a few decisions before pressing the download button. Start with the original vector, identify the final use, preserve the aspect ratio, and export enough pixels for the intended display size. PNG is dependable for transparent graphics, JPG suits solid-background images and photographic detail, while WEBP is a strong option for lightweight modern web assets.
Most blurry or distorted results are not caused by the SVG itself. They happen because the raster output was created too small, stretched into the wrong proportions, or saved in an unsuitable format. With the right settings and a quick visual check, one SVG master can provide clean versions for websites, presentations, documents, social posts, and many other everyday projects.